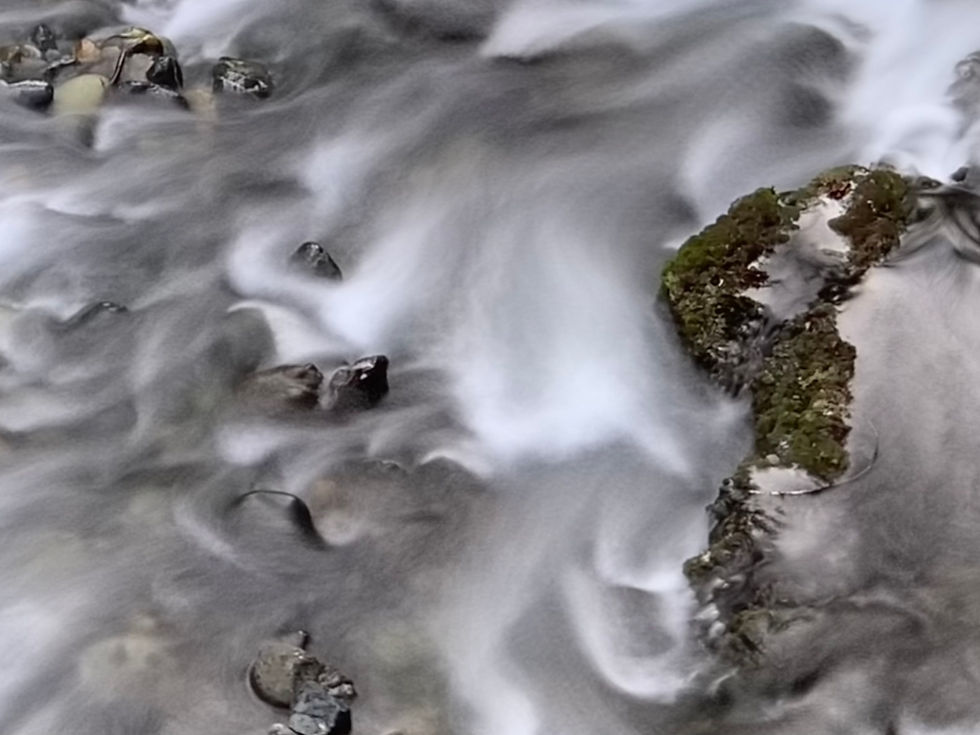
Fuzzy Images and Clearer Concepts
- Don Rommes
- Jun 16, 2020
- 3 min read
Updated: Mar 29, 2021
By adding a little fuzziness to your image you can sometimes clarify your concept.
Ansel Adams once famously said, “There is nothing worse than a sharp image of a fuzzy concept.” I take that to mean that a technically perfect image will not rise to the level of art if it does not communicate an idea or a feeling.
But sometimes a little fuzziness in an image can clarify the concept.
Take the following image, for example. It was the middle image of three I took with the intent of making a panorama.

This scene was about a mile from Lower Calf Creek Falls in Grand Staircase-Escalante National Monument. It was afternoon on an autumn day. The sun had disappeared behind the canyon wall. That fall season had been wet so the stream flowing down the canyon was running well and contributing to the swelling ponds behind the beaver dams.
This section of the canyon has a lot of reeds and young cottonwoods. Scrub oaks grow a little higher on the banks. When I approached this grove of saplings, I was initially attracted by the light. As the sun went behind the near wall, it reflected off the far canyon wall, bathing the trees in a soft, almost buttery light.
The reeds rustled crisply as I walked through them, sometimes crunching under my step as I looked for a possible composition. A sucker for scenes with high frequency detail, I appreciated the fine tree branches and straight reeds. The remaining yellow leaves added another element—a combination of interesting detail with a yellow glow.
Thinking this scene might look good as a very large photograph, I decided to take three side-by-side exposures and stitch them into a panorama. After stitching the three images together and doing some routine post-processing, I came up with this:

It was a technically competent result, but I didn’t think it communicated the sense of glowing light I perceived when I was there. I struggled with the problem for a while. How to create the buttery glow without losing the detail I was after?
I could think of two ways—the Orton technique, and the Dehaze filter.
The Orton technique was named after Michael Orton who invented a creative way of sandwiching to slides together to make a print with glowing highlights. There are many different variations to the technique using digital methods, but all have the same basic goal—creating a slightly fuzzy glow in the highlights while preserving detail in the darker areas.
My technique used the Gaussian blur tool in Photoshop and luminosity blending to restrict the effect to only the lighter areas of the image. I also lightened the blurred areas and gave it some yellow coloration for warmth. Here’s the result (you might have to click on the image and enlarge it to notice the subtle difference).

I think it helps.
The second way to create a similar effect is to use the Dehaze filter in Photoshop or Lightroom. I created a virtual copy of an image that had been processed to my liking. In that virtual copy, I added a dehaze filter to soften and lighten the whole image. Then I opened both images as layers in Photoshop and used luminosity masking to restrict the effect to only the lighter areas of the image. Here is the result.

In my opinion, both versions are a subtle improvement. They each communicate a sense of glowing light that is closer to what I perceived at the time. I will probably keep looking at the image from time to time and try tweaking it until I am satisfied. Meanwhile, suffice it to say that adding a little fuzziness to your image can sometimes clarify the concept.


Comments